alamo
-
Posts
32 -
Joined
-
Last visited
Content Type
Profiles
Forums
Events
Store
Downloads
Gallery
Everything posted by alamo
-
Thanks for info Paul !
-
Did the follow-up pictures help any?
-
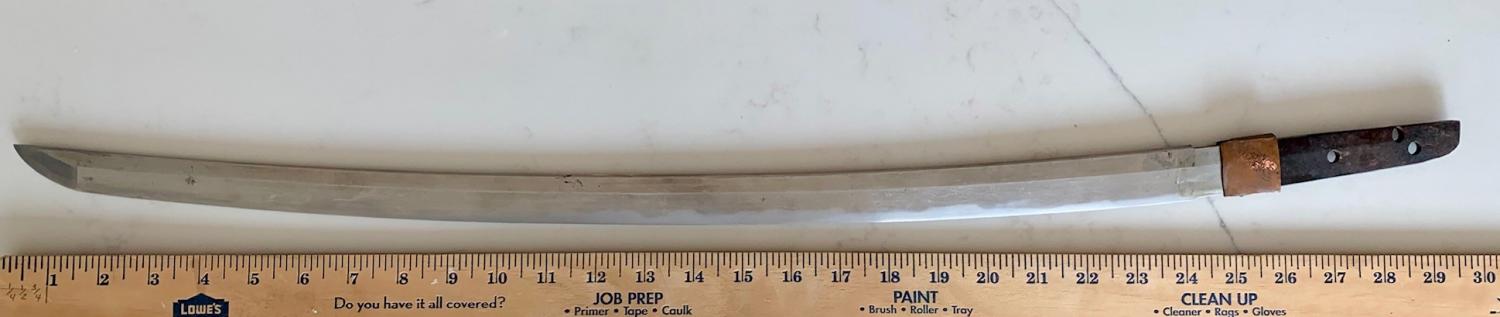
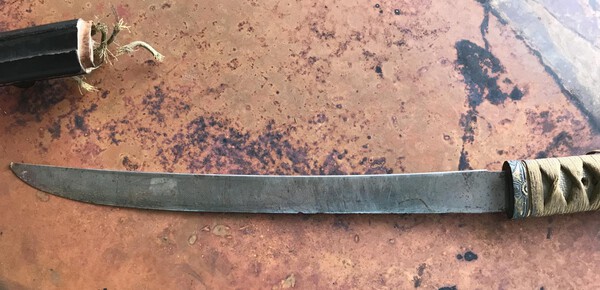
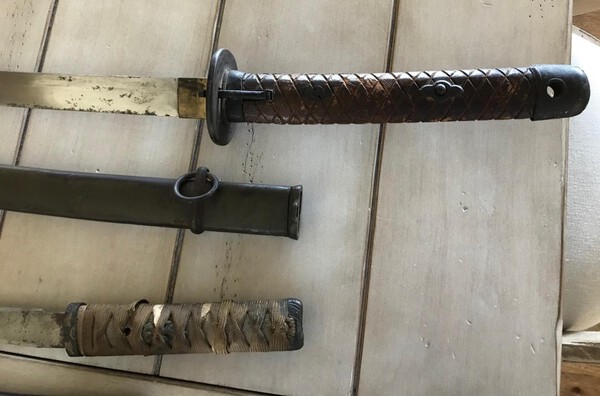
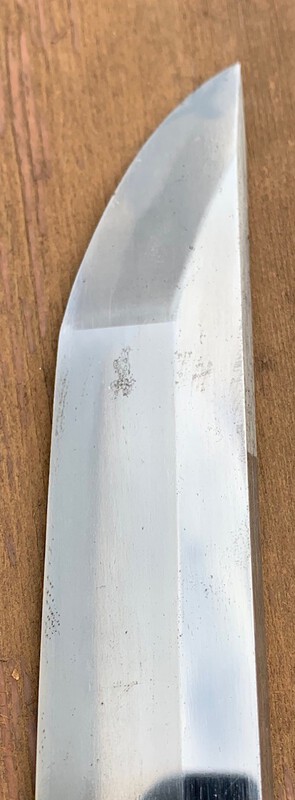
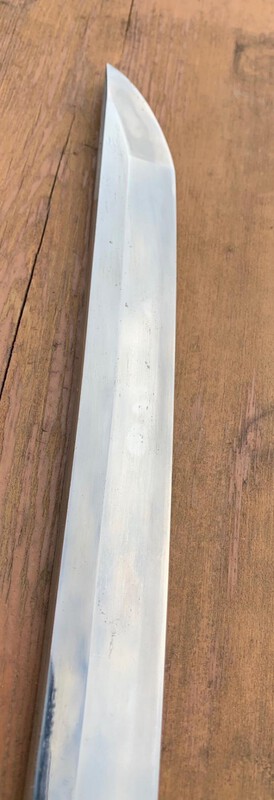
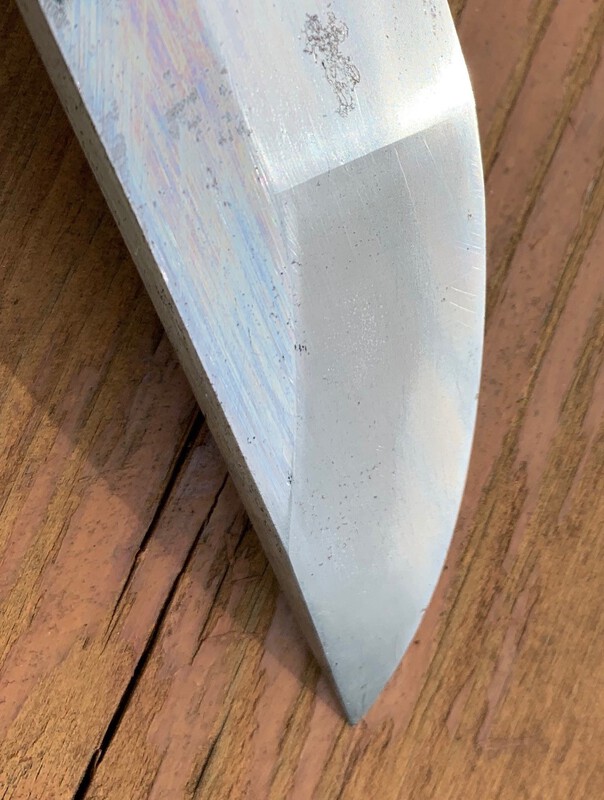
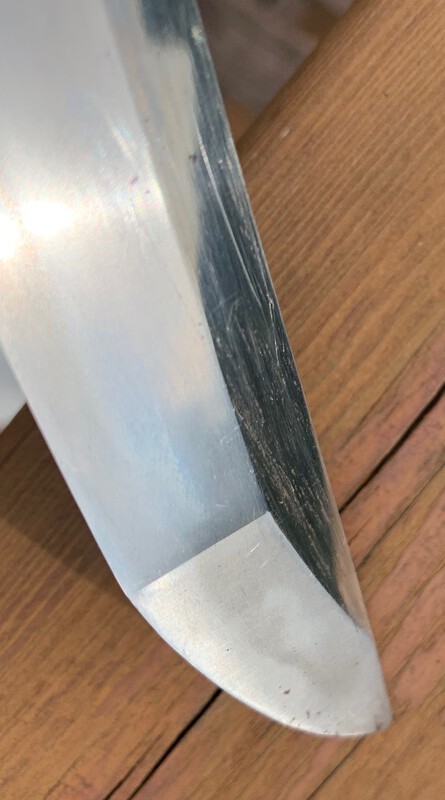
Here are a few more photos my friend sent of the wakizashi with better shots of the nakago.
-
Thanks so much for the replies. Much appreciated. I’ll see if I can get a picture of the tang.
-
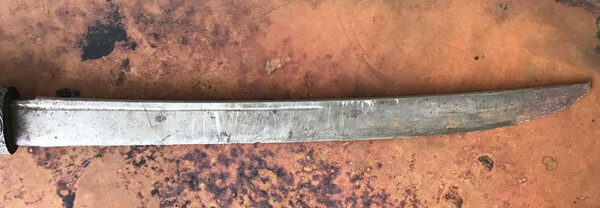
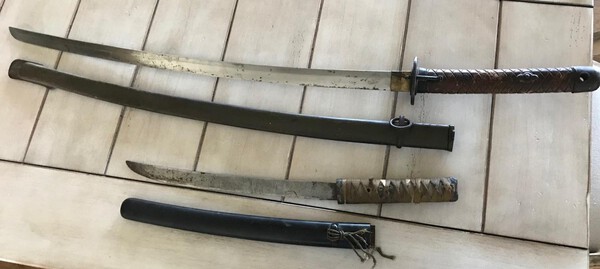
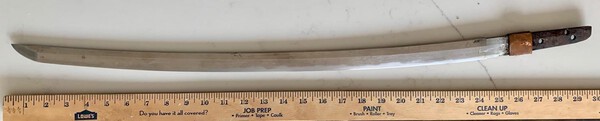
Hello again. I got some help here a few months back identifying the sword my father brought back from WWII and told a friend about it. His father was a Marine during the war and sent me a couple of pictures of 2 swords his father picked up on Saipan. He was curious to know something about them. Any help appreciated. Thanks, Tom
-
Thanks Chris. I'm not familiar with the various time periods. I did find the below. Which ones would you be referring to? early Koto 初古刀 938 ~ 1319, middle Koto 中古刀 1319 ~ 1460, late Koto 末古刀 1460 ~ 1596, Keigen-Shinto 慶元新刀 1596 ~ 1624, Kanei-Shinto 寛永新刀 1624 ~ 1658, Kambun-Shinto 寛文新刀 1658 ~ 1684, Genroku-Shinto 元禄新刀 1684 ~ 1764, early Shinshinto 初新々刀 1764 ~ 1818, middle Shinshinto 中新々刀 1818 ~ 1854, late Shinshinto 末新々刀 1854 ~ 1868, Gendaito 現代刀 1868 ~ today.
-
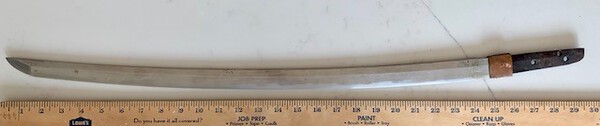
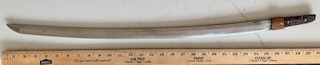
Here's 2 more pictures, a little lighter

-
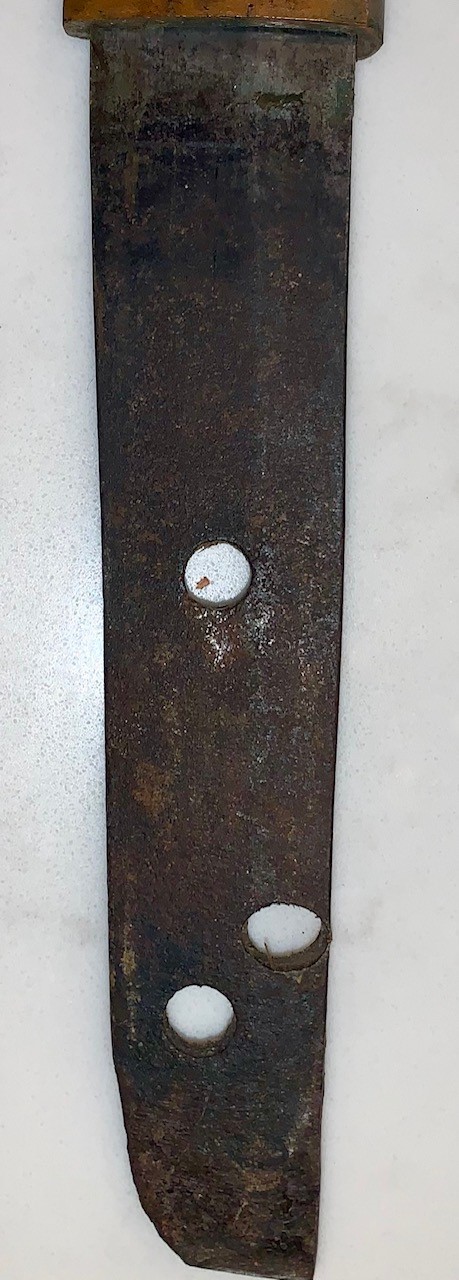
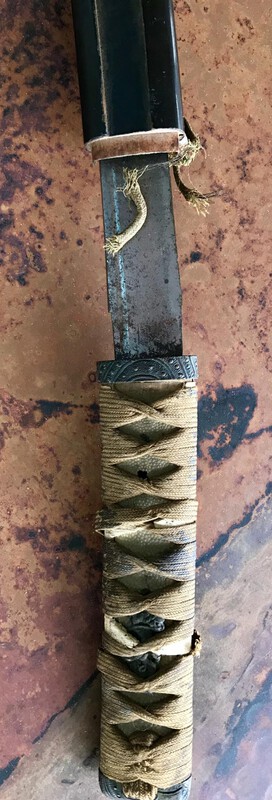
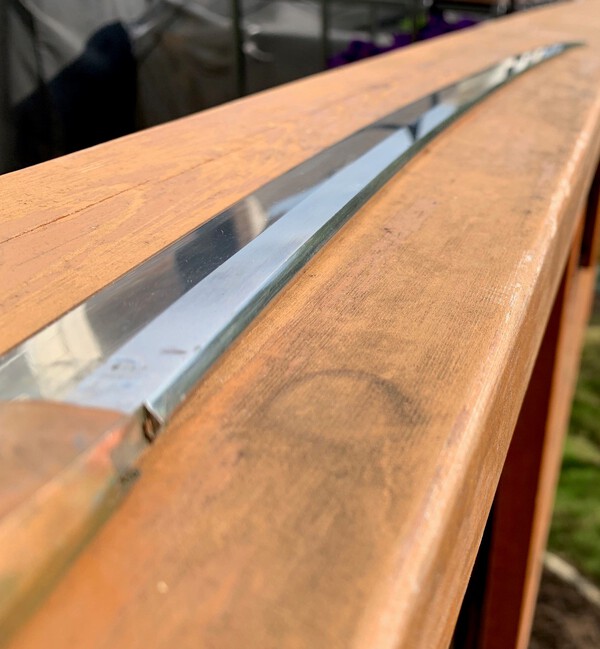
I decided not to take the Habaki off. It didn't want to come off easily and there seems to be a split in it - I just moved it back as far as it would go. See the picture. Pictures of the blade are the same, just different sizes.

-
No, I haven't taken that off. I'll do it after work and take a picture
-
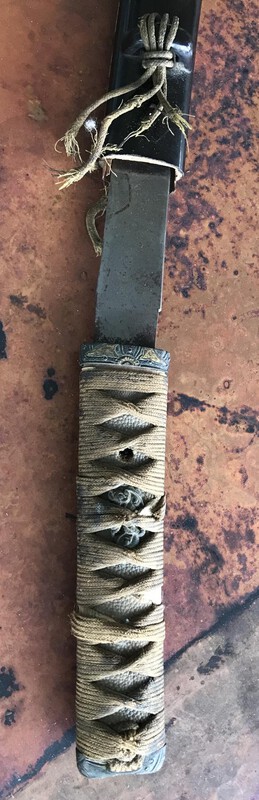
Here's a picture with most of it in the shot

-
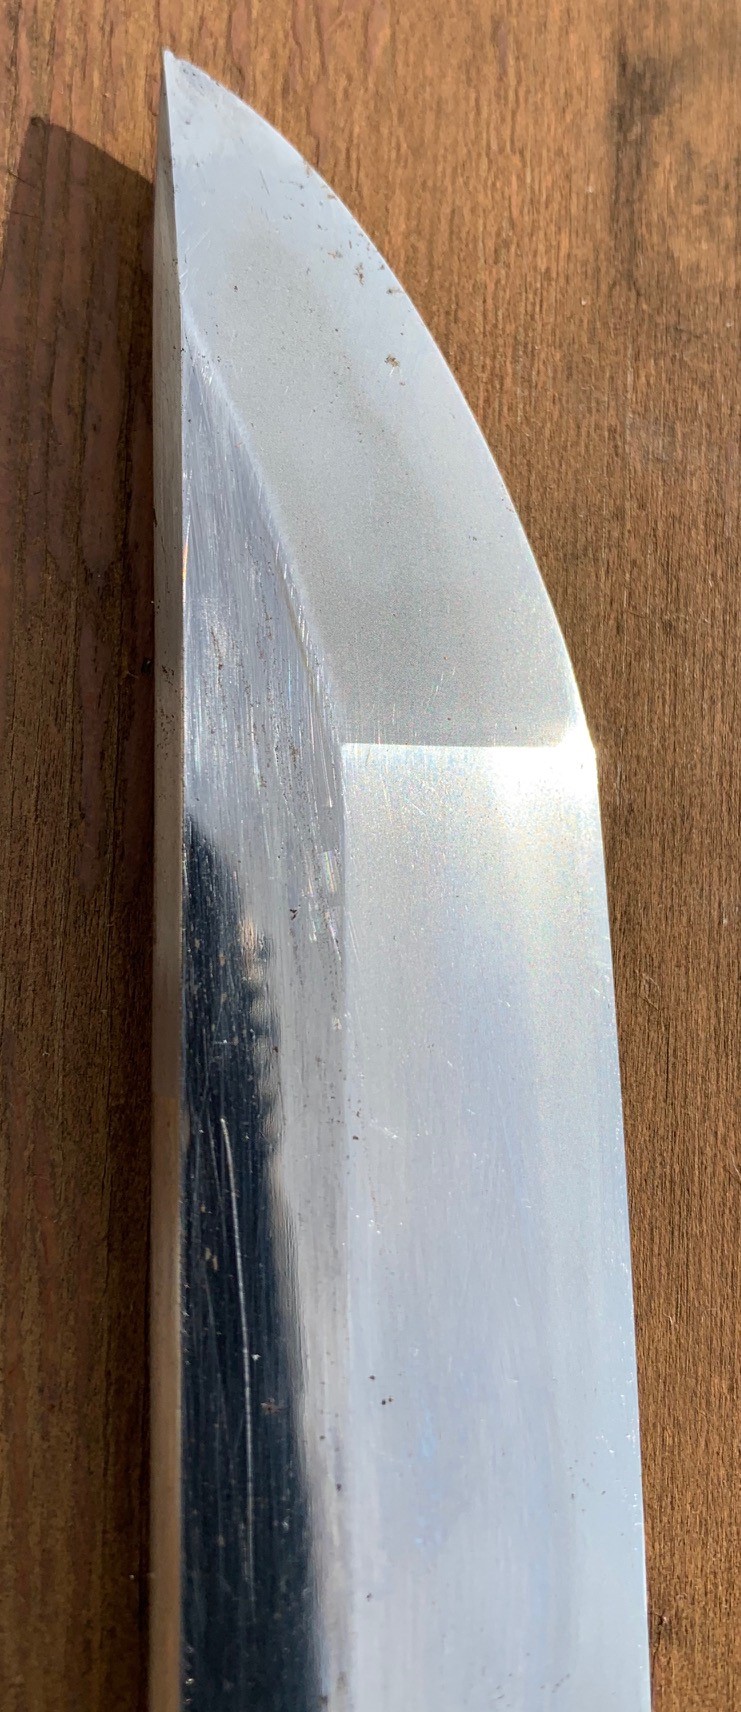
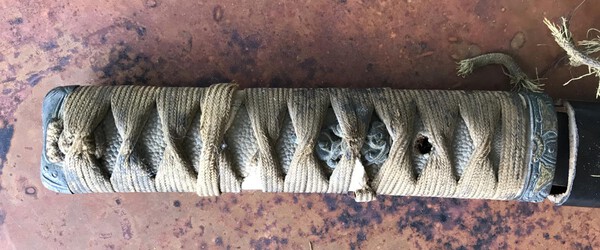
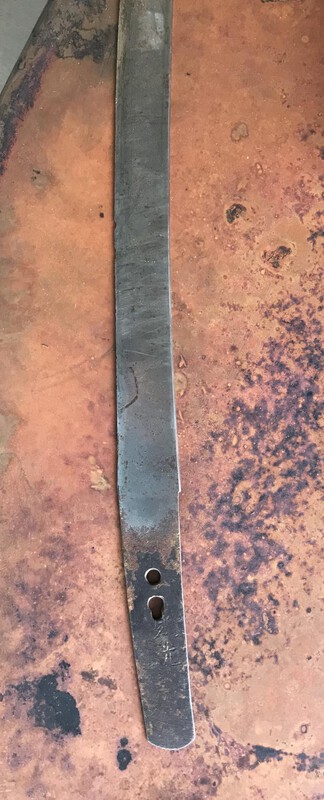
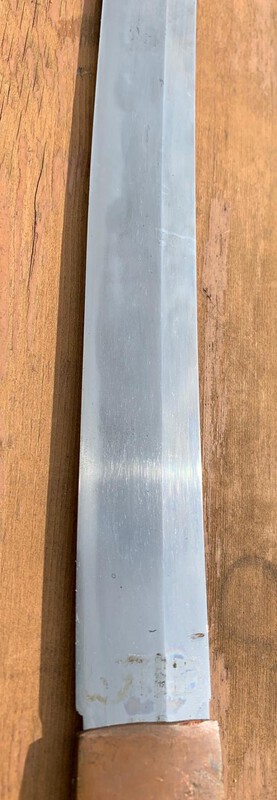
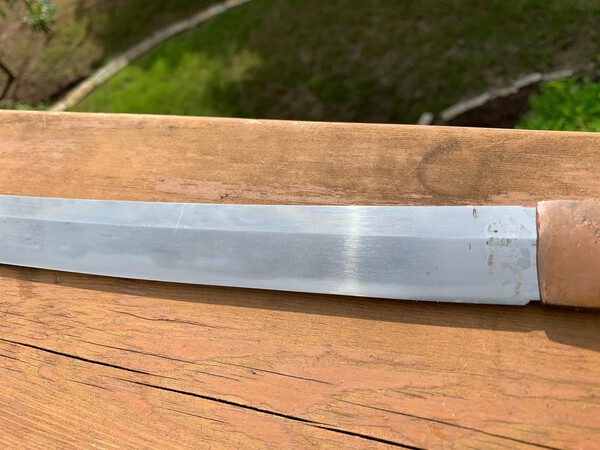
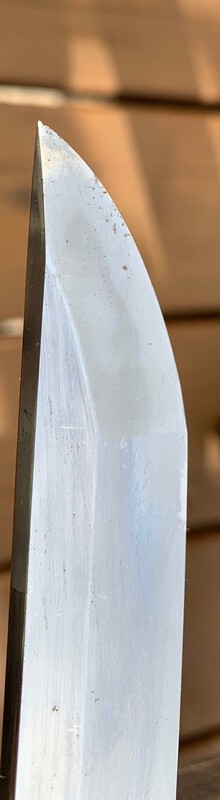
Taking decent photos is difficult. The sun, shadows, reflections, etc. Hope these will suffice. You can see where I was tapping on the nakago to drive out the peg, not realizing the hole was not lined up. Grrr...


-
I took it out on the back deck and took some shots. More in a bit


-
That's some great photo work Chris. Here's mine again, enhanced a bit.

-
Thanks, it's gone. I took the pictures right after I got the tsuka off, cleaned the blade afterwards. More pics coming
-
-
Probably the former. As I recall the story, my Dad didn't pay or trade for the sword and the purpose of a soldier assembling a sword would be to make a buck off of it by selling or trading it.
-
I'll take some out in the sunlight this week when the weather clears, rainy lately.
-
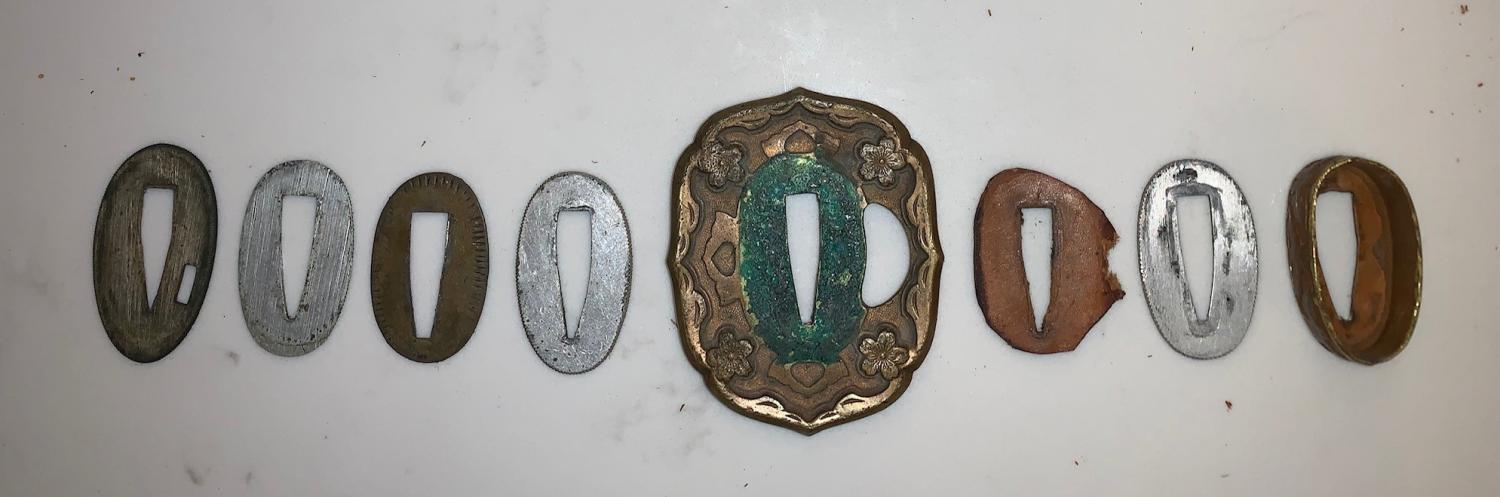
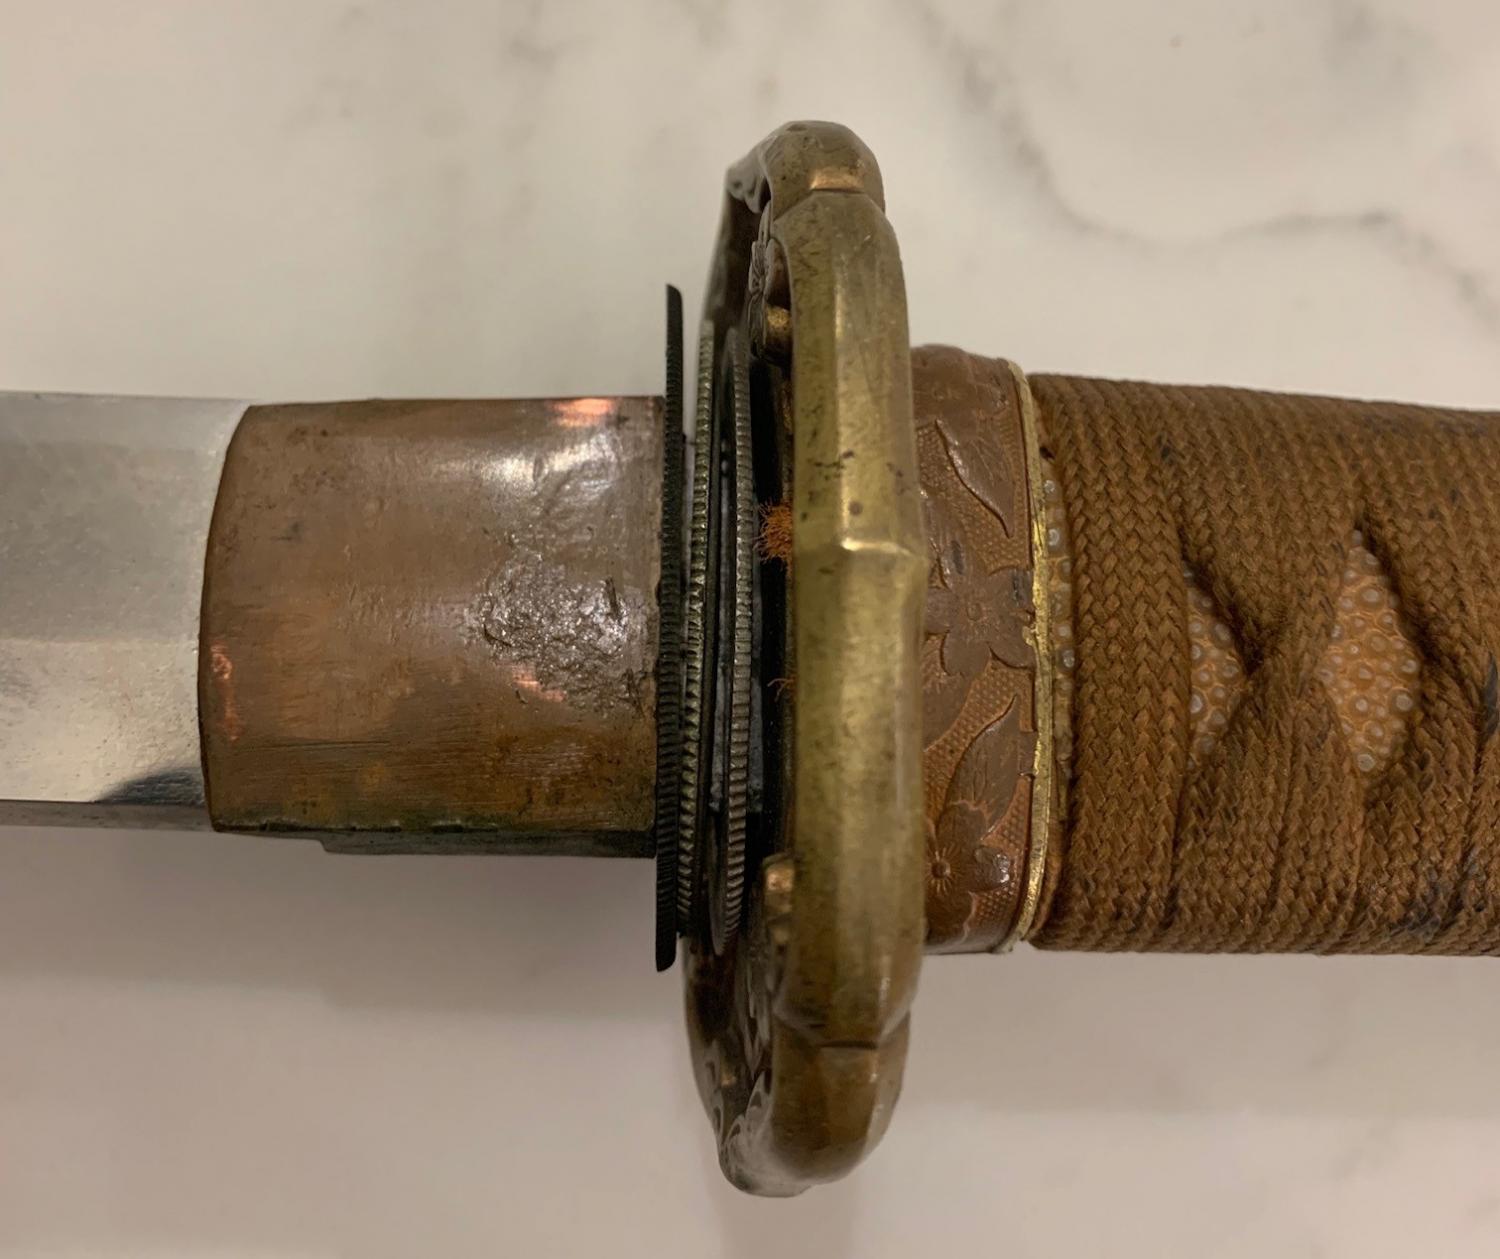
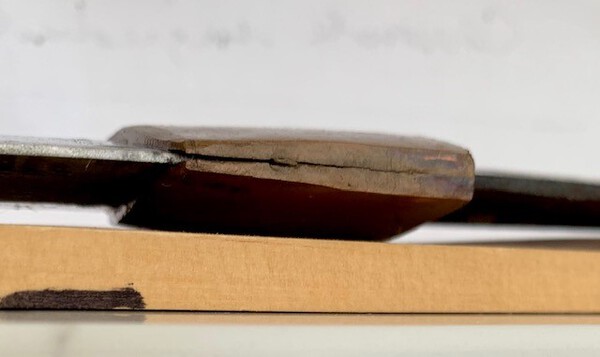
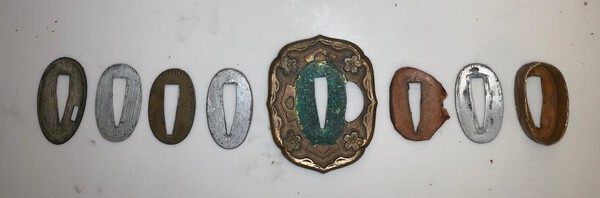
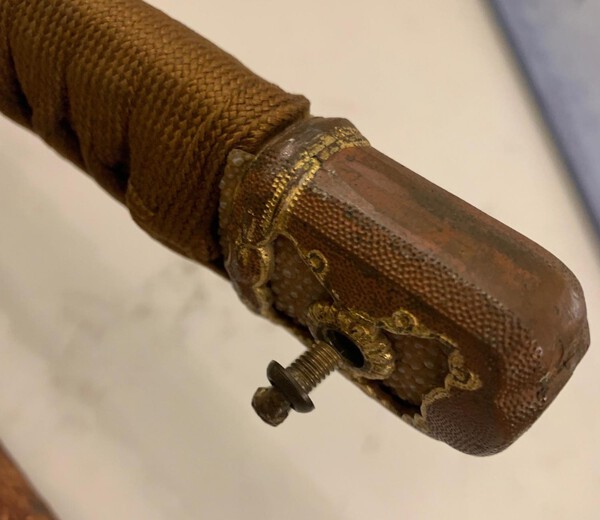
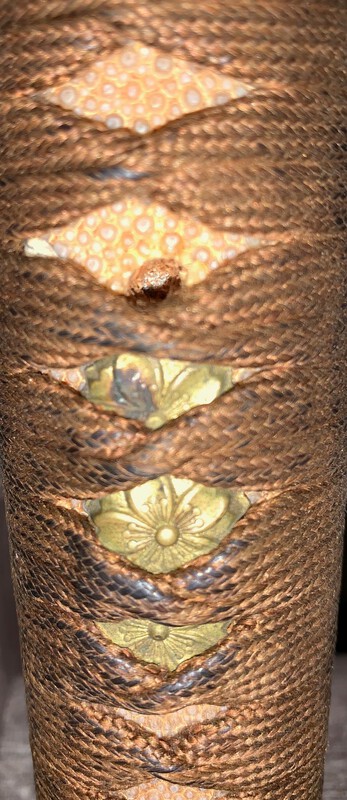
That's interesting about the blade. Do you think the other parts as old? Or was the blade re-used? I'll take more pictures of the blade per John's suggestion and I won't clean the Nakago There's still one part on the blade (the habaki?), I assume that comes off. It slides down a bit but I encountered some resistance so I left it on. It appears there might be the beginnings of a split on it, I'll try to take a picture of that. I'm a bit leery of bending the sarute any more to get it off but that does need to be fixed. It looks like it is supposed to screw in the other end but I'm not sure how that would be done. My goal here is to get it cleaned up (the parts that should be cleaned), make any possible repairs, put the seppas on in the correct order and do whatever I can to preserve it. I think I need to go slow on this, not having done this before. I've mostly worked on surplus rifles and pistols to completely disassemble and clean them up but this is new to me. Any suggestions on what to use to clean the green off the tsuba?
-
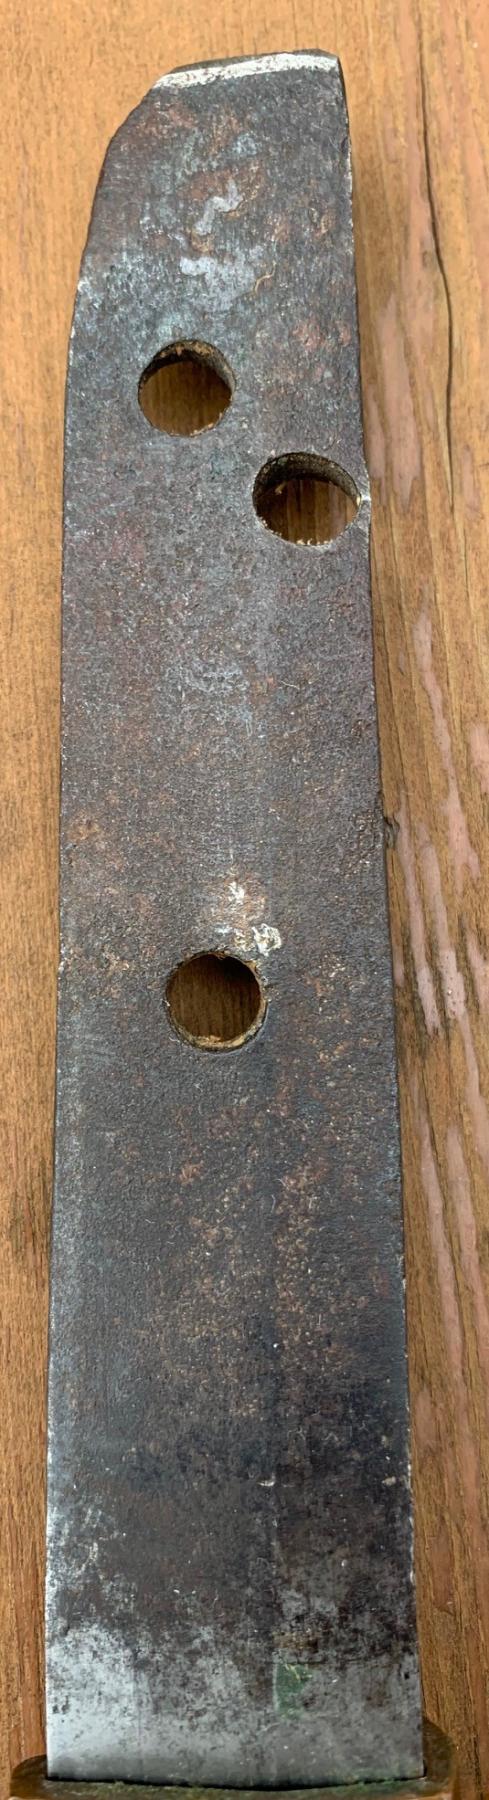
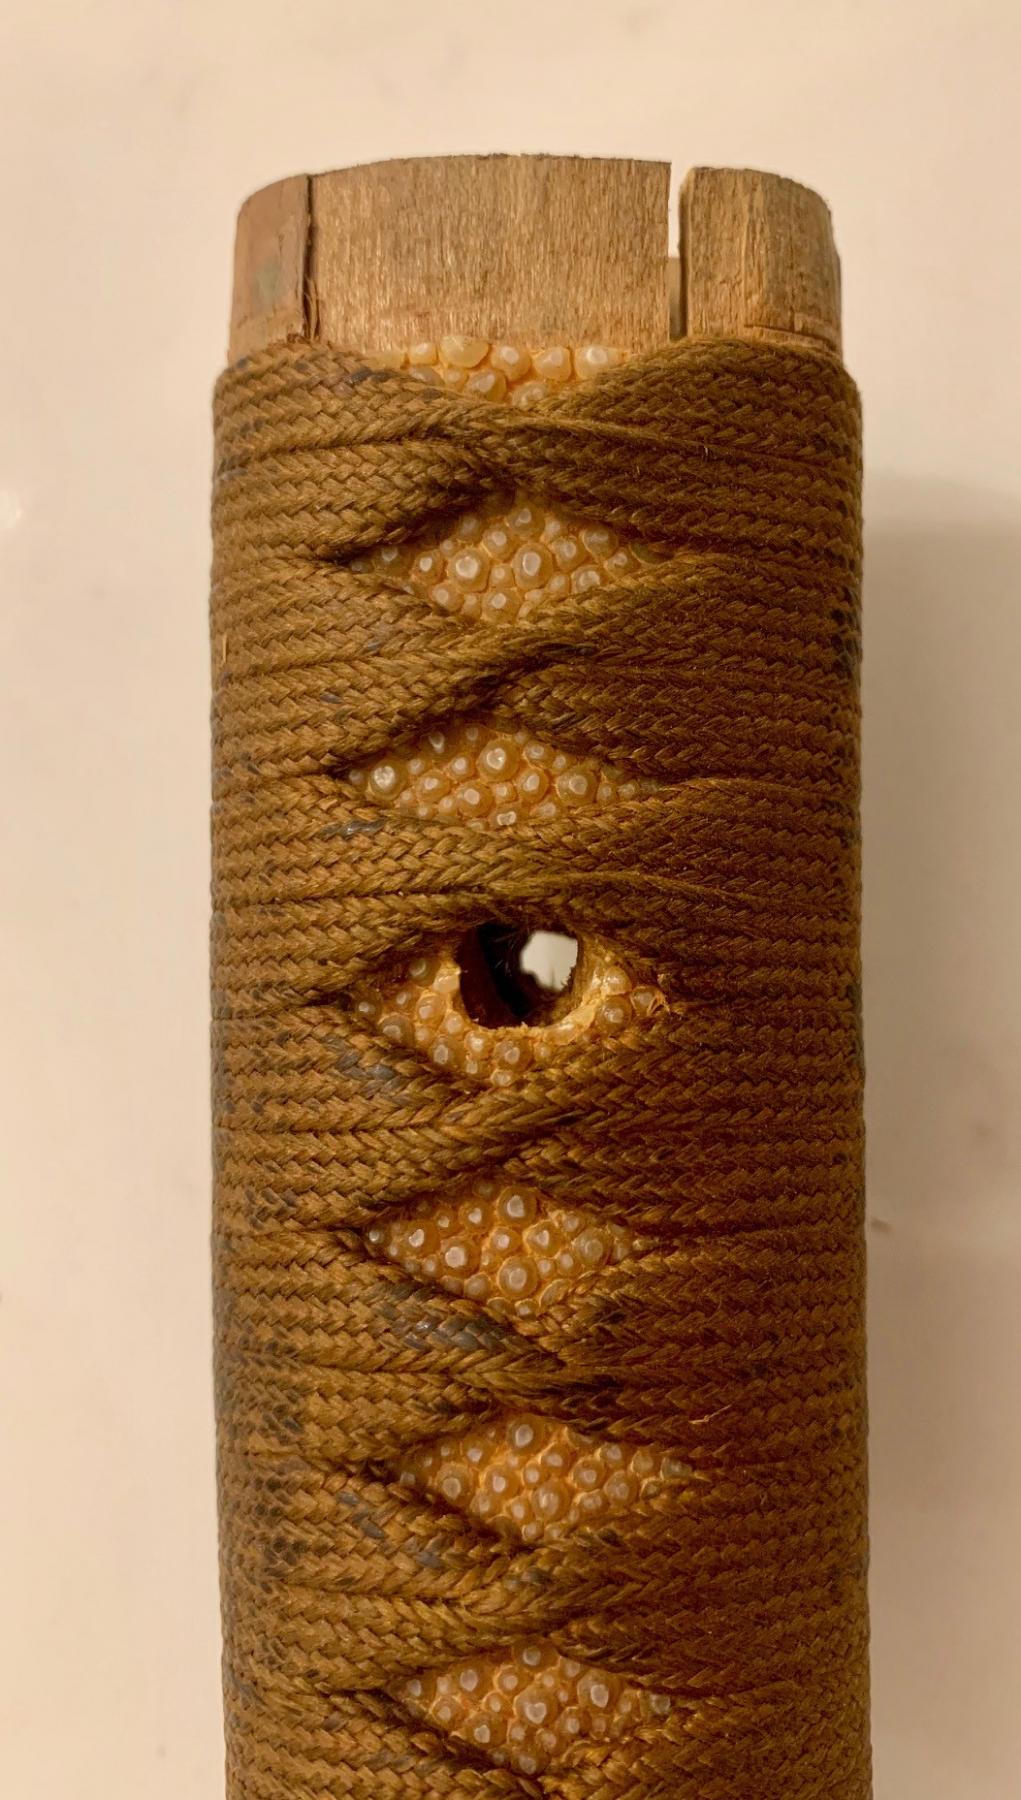
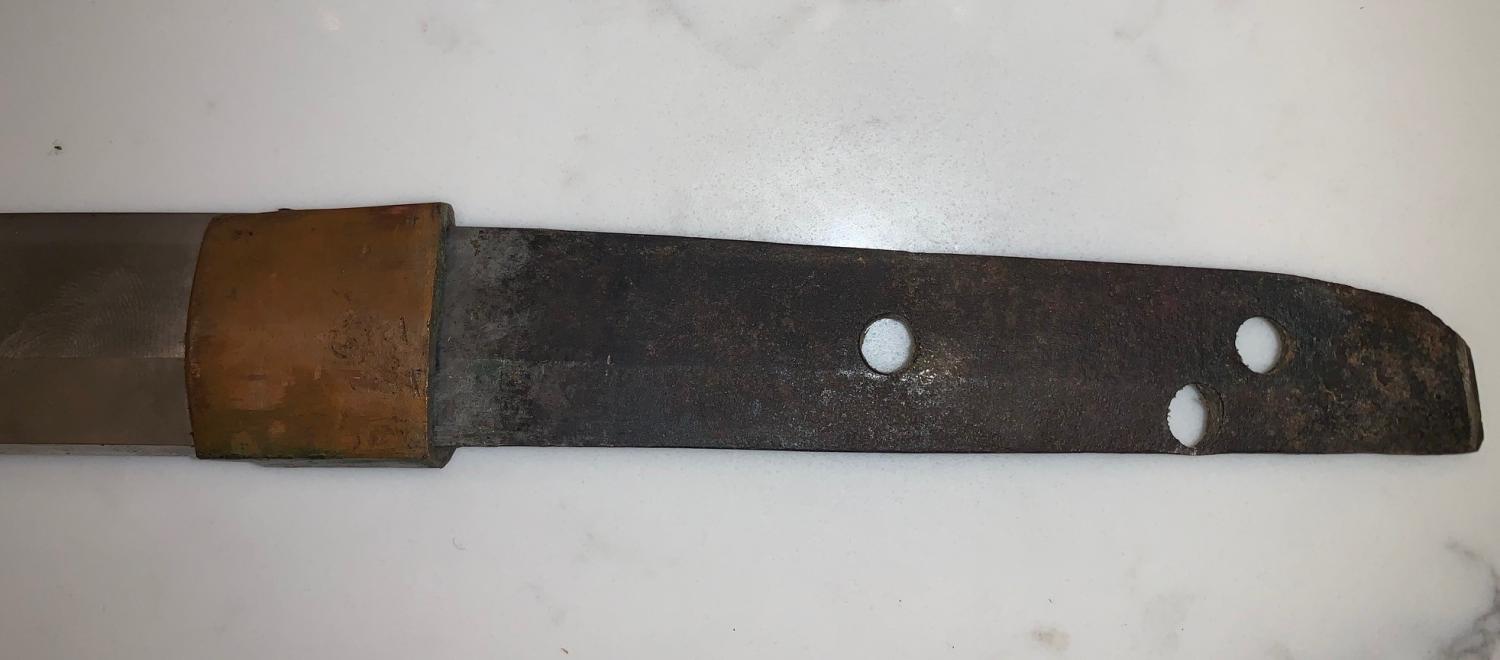
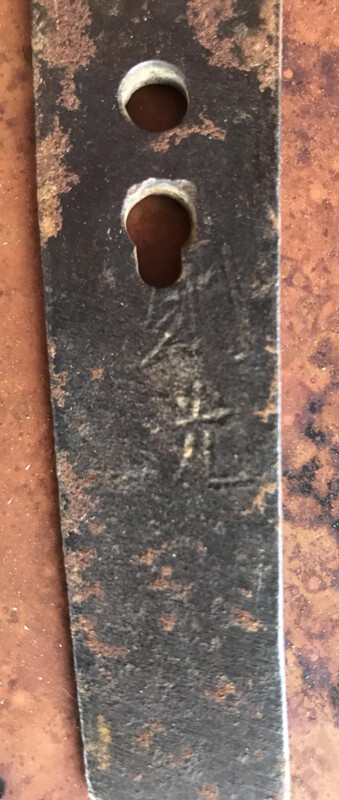
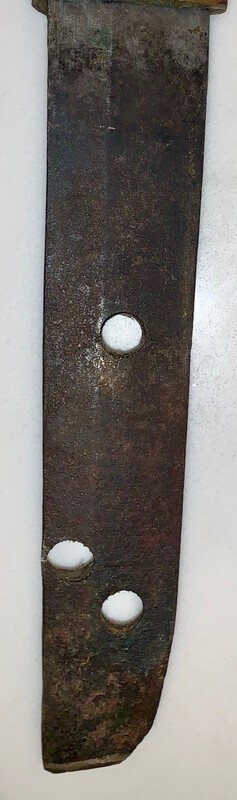
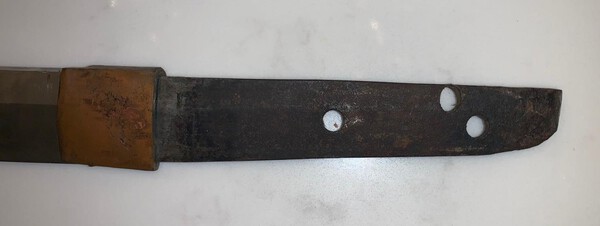
Ok, I dug some more peg out and and finally tried pulling on it and it came right off. I lined all of the parts in order that they were on there. Right to left. The first part taken off being on the right. The wood on the scabbard is split. The tang is very dark. I couldn't see any markings on either side with a magnifying glass and flashlight. Maybe I need to clean it off. One of the holes (the 2nd hole) is pretty off, or is that normal? .

-
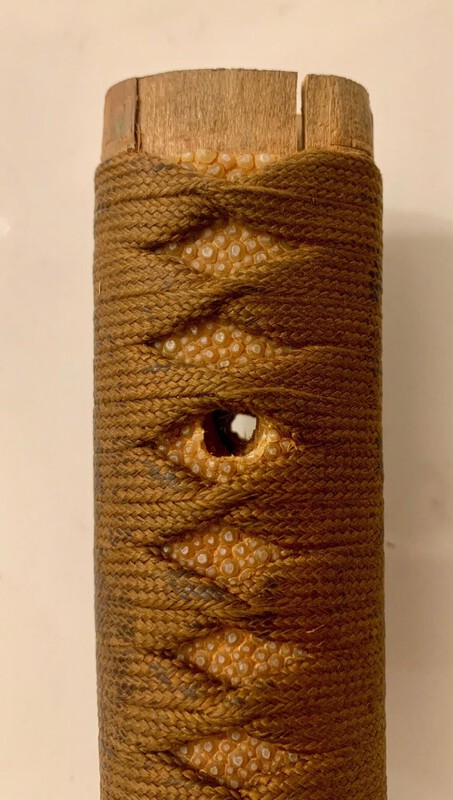
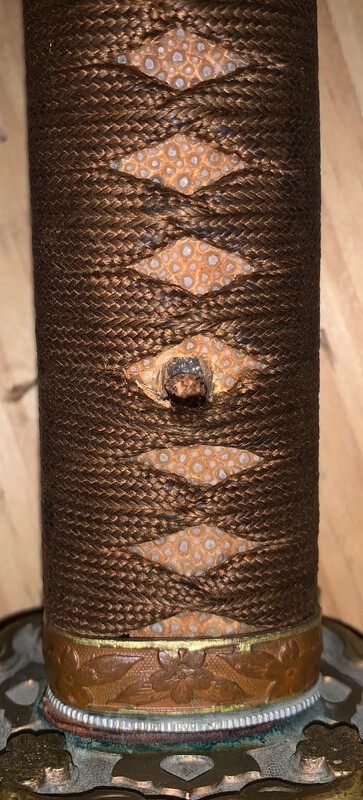
None of the suggestions worked unfortunately so I got a block of wood, put the tip on it and pushed down a number of times. I wasn't stabbing the block but just pushing hard. Hope this wasn't a bad thing to do. See the picture. Looks like the holes are close to lined up and I can start digging out the rest of the peg on the other side. I do need to remove the sarute. I has always been loose too, it's not screwed in. See the picture.
-
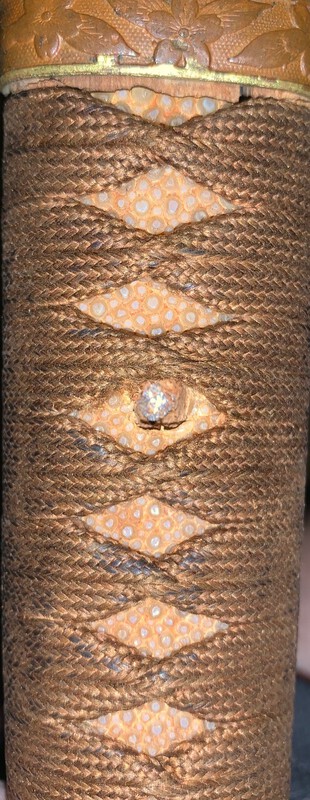
Well, here's an interesting dilemma. I tried to get the peg out again but no luck. I didn't want to strike too hard on it. I finally got a small flat head screwdriver and just dug the pieces out. There's just bare metal at the bottom of each hole. It's not lined up with a hole in the blade. The peg was apparently 2 pieces or maybe it was one piece at one time and it shifted and broke it in two. Not sure where to proceed from here. I don't want to damage it. See the pictures. You can see the metal at the bottom of each hole. All the seppa parts are loose. Maybe this explains it.

-
Good to know, thanks
-
Wow, pretty inexpensive too
-
Thanks, that's what I did. I'm afraid it's just mashed in there now. I'll pull on the other end with needle nose pliers. If that doesn't work, I guess I'll just have to follow raynor's suggestion
-
I'll give it a shot tonight and see what happens, one way or anther, it's coming out